NBI Clearance For Abroad: The Real Guide for OFWs and Filipinos Overseas
If you are abroad and need NBI Clearance, you have two real options. You can ask someone you trust in the Philippines to process it for you as your representative. Or you can mail your documents directly to NBI yourself, no representative needed. Both start with the same basic requirements, a form, photos, fingerprints, and a copy of your passport. The representative option is usually faster. The mail only option works if you truly have no one to ask back home.
The History Behind NBI Clearance for Abroad
Here is something that clears up a lot of confusion, especially if you ever asked an older relative about this.
Before October 2017, NBI Clearance actually came in different colors depending on what you needed it for. Yellow was for local employment only. Green was specifically for travel or work abroad. If you had the yellow one, it would not work for your visa application.
Since October 2017, this changed completely. There is now just one clearance, colored blue, called the multipurpose clearance. It works for local use and for abroad use at the same time. This is also why the online system no longer asks whether your clearance is for local or for abroad. It genuinely does not matter anymore.
So if someone tells you that you need a specific colored NBI clearance for abroad, that advice is outdated. Any current NBI Clearance works for both.
Two Ways to Get NBI Clearance While You Are Abroad
Option 1: Through a Representative in the Philippines
This is generally the more reliable option for getting NBI Clearance from abroad if you have a family member or someone you deeply trust back home.
Here is what makes this work. You give that person a notarized Special Power of Attorney, often shortened to SPA, which legally lets them act on your behalf. They then physically go through the NBI process for you, using your documents and your online account.
What You Need to Prepare for NBI Clearance From Abroad
- A notarized Special Power of Attorney naming your representative
- A photocopy of your passport, including your most recent departure stamp
- Two by two photos with a white background, taken within the last three months
- Any valid ID issued by your host country
- For a new application, NBI Form 5, though your representative can actually get this directly at the NBI branch in UN Avenue instead of you sourcing it abroad first
- For a renewal, your original old NBI Clearance. A scanned or printed copy will not be accepted. This has been confirmed directly by people who tried and were turned away.
How it actually works, step by step:
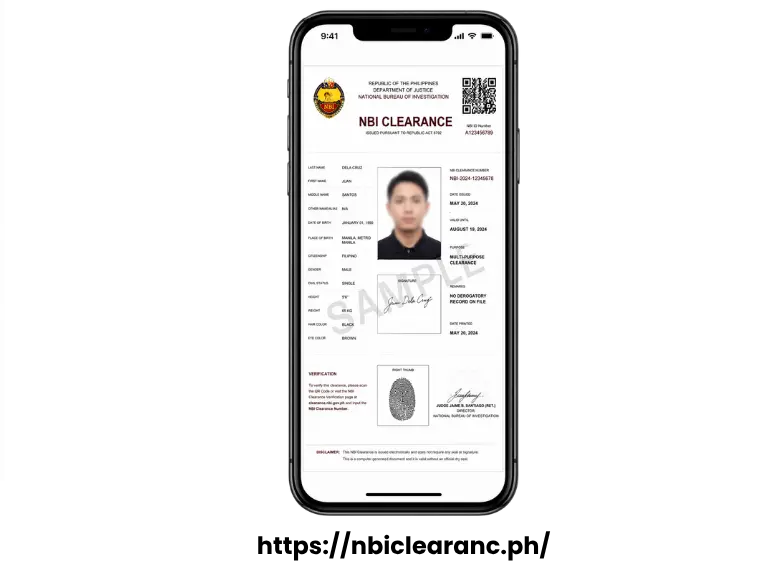
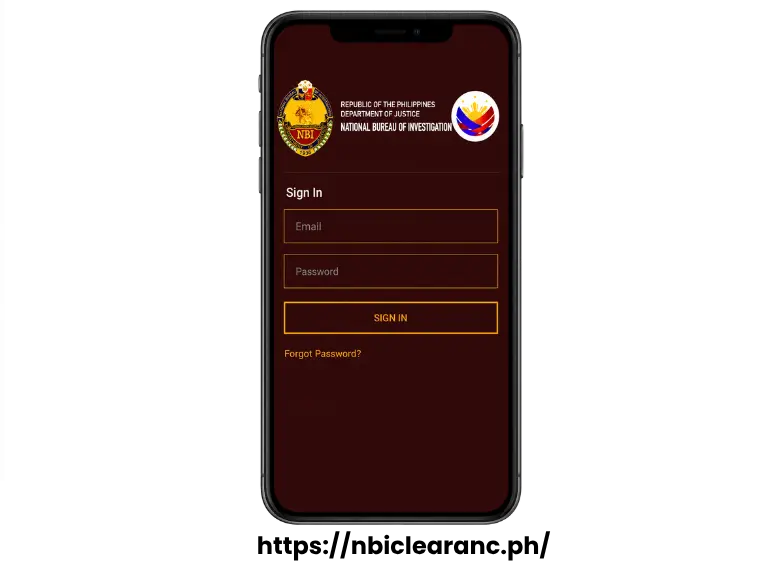
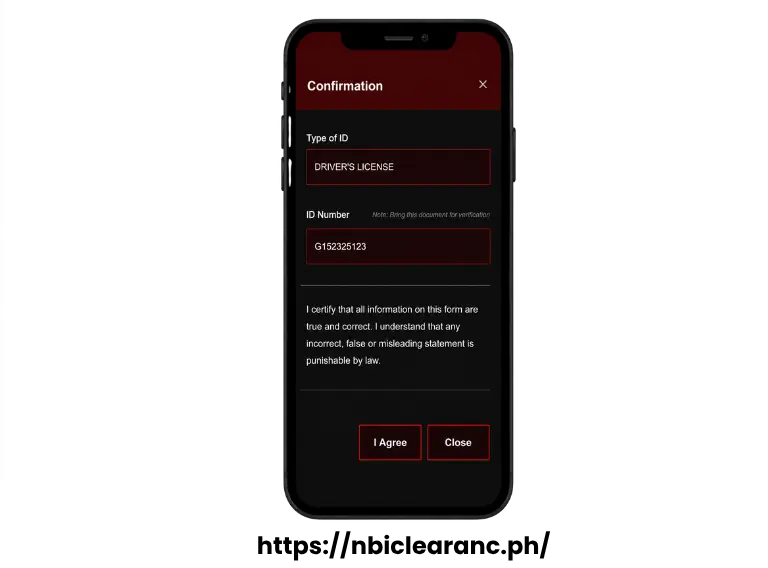
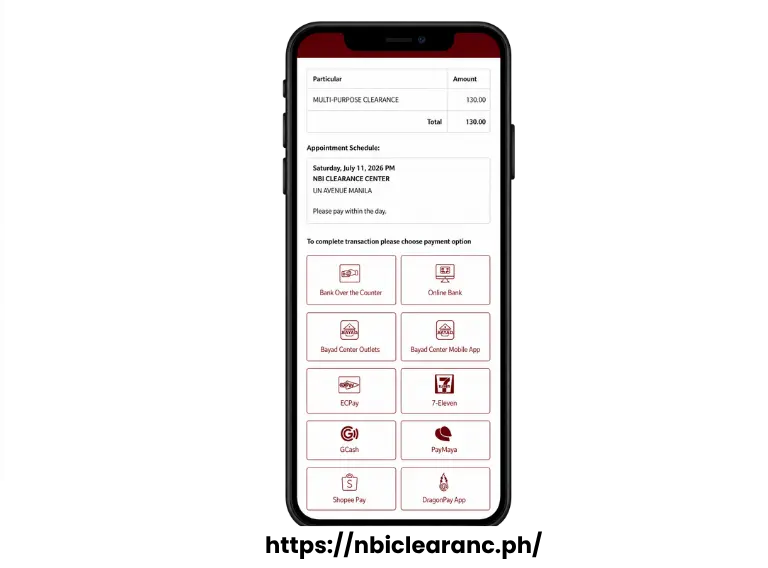
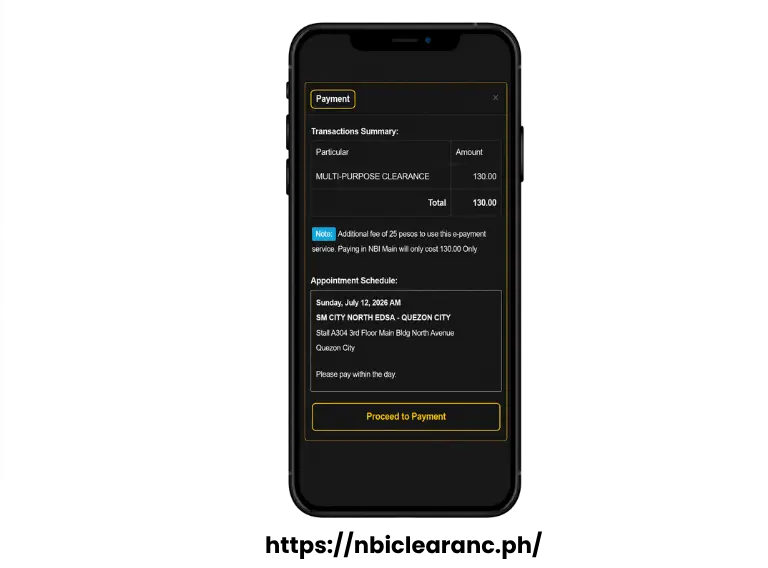
Once released, your representative mails the physical clearance to you.
Some applicants have reported that the system seems to check your first and last name first, and only looks closely at your middle name on a second pass. If your middle name is unusual but your first and last name are common, this may explain why you still got flagged even though your full name is not common at all. This detail comes from an applicant’s own observation rather than an official NBI explanation, but it lines up with how a lot of people describe their experience.
Option 2: Mailing Your Documents Directly, No Representative Needed
This mail in option for NBI Clearance abroad exists specifically for people who genuinely have no one available to act as a representative.
Instead of paying through GCash or an online channel, you need a money order or bank draft, made out specifically to NBI Director. Personal checks and cash are not accepted. Several applicants have confirmed that GCash and online banking do not work for this specific method, so do not try to force it.
Where everything gets mailed:
Mailed Clearance Section
3rd Floor, NBI Clearance Building
UN Avenue, Ermita, Manila, Philippines 1000
NBI clearance for abroad requirements
- Your completed NBI Form 5
- Two colored 2×2 photos with a white background
- Fingerprint impressions, which you can get done at your embassy for a fee, or alternatively at a local police station or an accredited fingerprinting agency near you
- Photocopies of two valid government issued IDs
- Your money order or bank draft for the required fee
The steps:
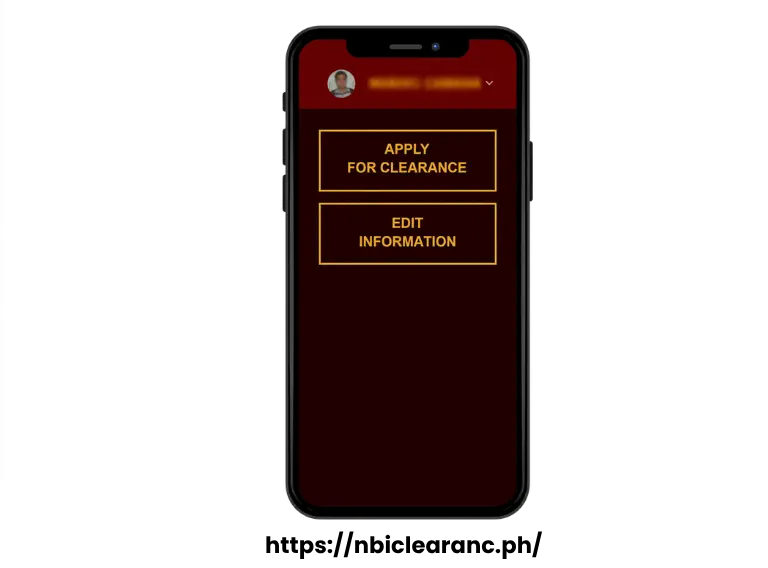
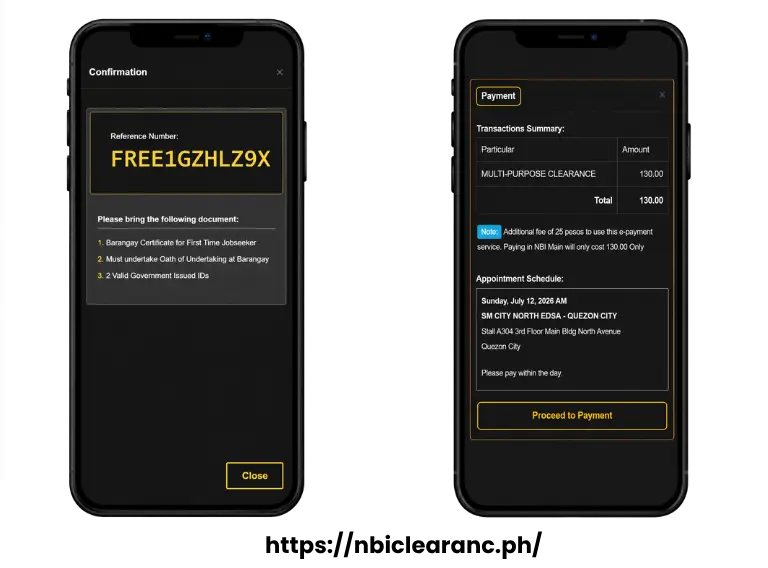
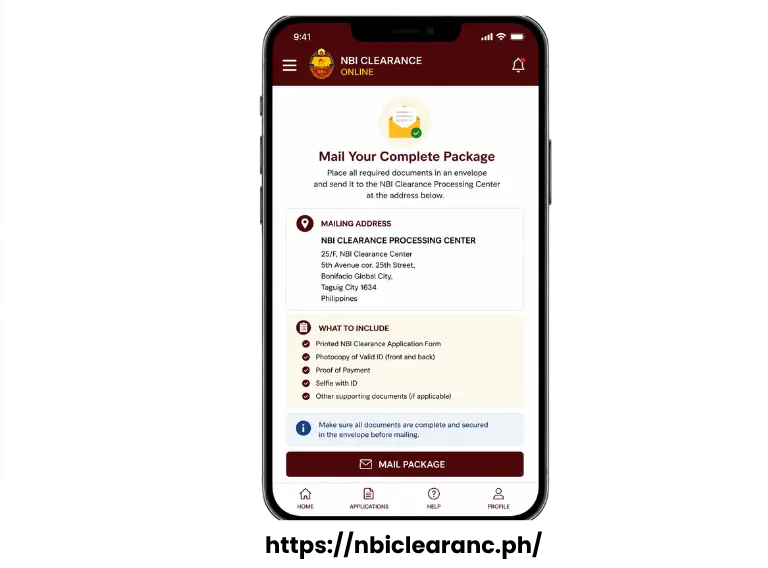
Processing generally takes about five working days once NBI actually receives your documents, not counting how long the mail itself takes to arrive.
Once approved, NBI mails your clearance to whichever address you registered, either your Philippine address or your foreign address depending on your setup. Check for the NBI Dry Seal when it arrives, the same as the representative path.
How Much Does This Actually Cost
This is one area where we found genuinely different numbers depending on how old the source was. We want to be upfront rather than pick one and hope it is right.
Older sources consistently describe the mail in fee as 200 pesos, made up of 130 for the application itself and 70 for mailing. More recent data suggests this may now be closer to 400 pesos, which would include an additional handling component on top of the same base and mailing fee.
Different guides use different labels for these situations, like local versus national hits, or single versus multiple hits. We were not able to confirm that these specific labels come from NBI itself. What matters more than the label is which of the two paths above applies to you, since that decides what documents you need.
For the representative path, your representative typically pays the standard local fee once at the branch. For the full breakdown of standard domestic fees, see our complete fees guide.
Real Talk About Delivery Timelines
Officially, door to door delivery within the Philippines is supposed to take three to seven working days for Metro Manila, and seven to ten working days outside Metro Manila. That is the stated policy.
In practice, real applicants have reported delivery taking as long as a month in some cases. This does not happen to everyone. Some people genuinely receive theirs within the stated window. But enough people have experienced real delays that we think you should know this going in, rather than being caught off guard.
If a branch is realistically reachable for your representative, picking up in person tends to be more predictable than waiting on delivery. There are simply fewer moving parts involved.
A Real Example, So You Know What to Expect
One applicant in Canada shared their actual timeline, and we think it is genuinely useful to see real numbers instead of vague estimates.
Their consulate appointment happened on May 20. Their family in the Philippines received the mailed documents on June 9, which is 20 days just for international mail to arrive. The family then visited the NBI branch two days later to drop off documents and book an appointment. They returned exactly one week after that to actually claim the clearance.
Start to finish, this took about a month. If your destination or timeline is tight, this is worth planning around rather than assuming everything happens quickly just because parts of the process are online.
NBI Clearance Abroad Requirements by Country and Philippine Embassy Process
We looked at two real, very different examples, and we think it is more honest to show you both rather than pretend there is one universal process everywhere.
In Canada, applicants typically book an appointment online through their local Philippine Consulate’s own website first. The consulate usually asks for a Health Declaration Form on top of the standard documents. No fingerprinting happens at the consulate itself, that part is handled once your representative processes things on the Philippine side.
In Saudi Arabia, no appointment is needed at all. Applicants simply go to the Philippine Embassy directly, request NBI Form 5 from staff, and fingerprinting actually happens right there at the embassy before anything gets sent home.
Neither of these is wrong, they are just different. If you are unsure which pattern applies to your specific country, the safest move is to check your own embassy or consulate’s website directly. The core requirements stay similar, but the exact local steps genuinely vary.
Countries That Usually Require This
NBI Clearance commonly comes up for Filipinos applying to work, live, or study in places like the Middle East including the UAE, Saudi Arabia, Qatar, and Kuwait, parts of Asia like Japan, Taiwan, Hong Kong, and Singapore, several European countries including the UK, Germany, and Italy, North America, and Australia.
Exact requirements still depend on the specific visa or program you are applying for. Treat this as general context, not a guarantee that your situation matches exactly.
Common Mistakes When Applying for NBI Clearance Abroad
A few patterns come up again and again in NBI Clearance abroad applications, based on real questions from applicants who went through this.
Sending a scanned copy of your old clearance for renewal. This gets rejected. Only the original physical document works.
Losing your old clearance entirely. This becomes a brand new application instead of a renewal, a longer process with different requirements.
Trying to change your civil status during a renewal. This is treated as a major change. You would need to go through the new application process instead.
Assuming any payment method works for the mail in path. Money order or bank draft to NBI Director only.
Mailing to any address other than UN Avenue. Even if your representative lives in Davao or Cebu, this process only accepts documents at the Manila address above.
Frequently Asked Questions
Getting your NBI Clearance while you are thousands of miles away genuinely takes more patience than doing it in person, there is no way around that. But the process itself is not complicated once you know which of the two paths fits your situation. Pick a representative if you have one you trust. Prepare your documents carefully the first time so you are not sending things twice. Give yourself more time than you think you need, especially if international mail is part of your timeline.